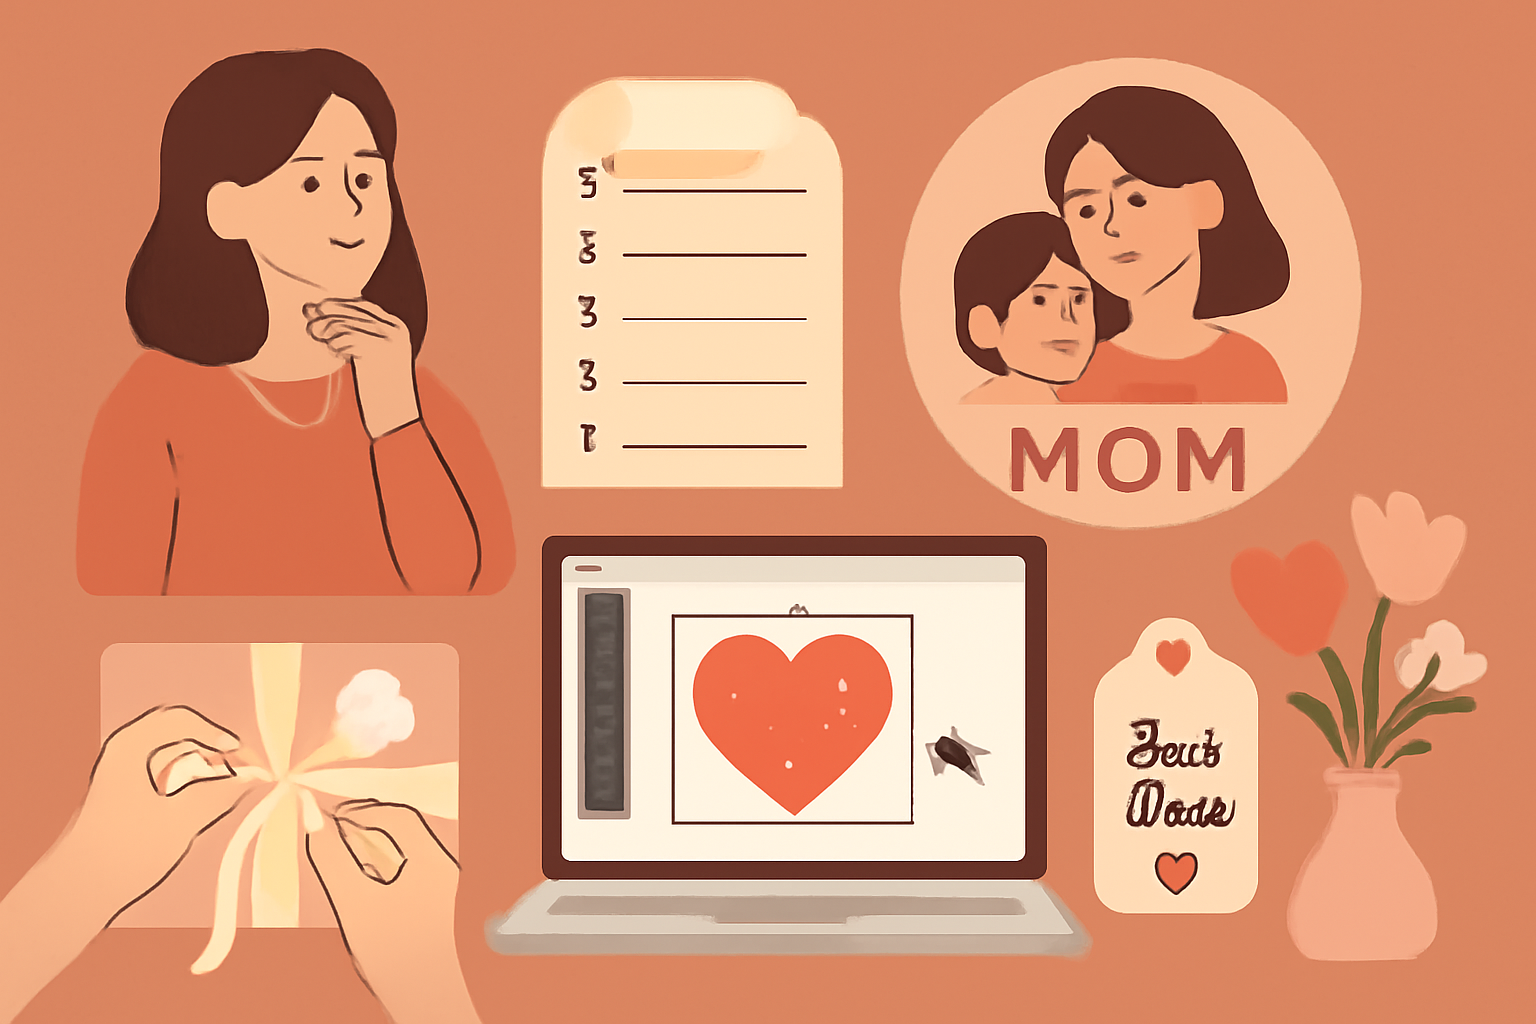
Mother's Day is the perfect occasion to show your appreciation for the women in your life. A meaningful Mother's Day gift can make her feel special and loved. But instead of reaching for the usual flowers or chocolates, why not create something truly unique? : Perfect for serving appetizers at gatherings.
Consider her hobbies and interests when selecting a gift idea. This will help ensure that your personalized gift is both functional and thoughtful. Ultimate Guide to Creative Mother's Day Gift Ideas.
Step 2: Gather Your Materials
Once you have a gift idea, it's time to gather your materials. Depending on your chosen project, you might need: gift choices for Mother's Day.
- Blank serving dishes or platters
- Photo prints or digital images
- Craft supplies (paints, markers, adhesive)
- Transfer paper (if applicable)
- Sealer (for preserving your design)
Make sure to choose high-quality materials that will last. If you're creating a personalized photo platter or custom photo serving dish, opt for materials that can withstand regular use.
Step 3: Design Your Gift
Now comes the fun part: designing your gift! Here are some tips to help you get started:
Choose a Theme
Consider a theme that resonates with your mom. This could be family-centered, like a family tree, or something that highlights her favorite colors or patterns.
Add Personal Touches
Incorporate names, dates, or special messages to make your gift truly one-of-a-kind. Using a personalized message can transform an ordinary gift into a meaningful Mother's Day gift.
Mock-Up Your Design
Before committing, create a mock-up of your design. This can be done on paper or digitally. Visualizing the final product will help you make adjustments as needed.
Step 4: Create Your Gift
With your design ready, it's time to bring it to life. Follow these steps for creating your personalized gift:
- Prepare your workspace: Ensure you have all your materials within reach and a clean area to work. This includes your chosen gift item, tools, and any decorations. A clutter-free workspace will help you focus and minimize the risk of accidents.
- Gather your materials: Depending on your chosen technique, you might need paints, brushes, glue, transfer paper, or other supplies. Make a checklist to ensure you have everything, preventing last-minute runs to the store.
- Follow the instructions for your chosen technique: Whether painting, gluing, or transferring images, adhere to the specific steps necessary for each method. If you're using a stencil, ensure it's securely placed before applying paint. For image transfers, use a smooth, even pressure to avoid bubbles.
- Test your materials: If you're unsure how a paint or glue will look or adhere, do a small test on a scrap piece of material first. This can save you from disastrous results on your actual gift.
- Allow for drying or setting time: Be patient! Rushing can lead to mistakes. Keep in mind that different materials have different drying times. For example, acrylic paint may dry quickly, while some glues might need several hours to set completely.
- Check for imperfections: Once your gift is dry, inspect it closely. Look for any areas that may need touch-ups or corrections. A small brush can help you fix minor flaws without ruining the overall design.
- Personalize further: Add finishing touches that make the gift unique. This could be a handwritten note, additional embellishments like ribbons or charms, or even a special box to present your gift in.
- Wrap it up: Presentation matters! Choose wrapping paper or a gift bag that complements the gift. Consider adding a personal touch, like a tag with a heartfelt message or a photo of the two of you together.
Common Mistakes to Avoid
- Skipping the planning phase: Jumping straight into creating without a clear plan can lead to disorganization and mistakes. Take the time to sketch out your design and gather materials first.
- Ignoring drying times: Rushing to finish can result in smudged paint or unfinished glue. Always allow adequate time for each layer to dry before moving on.
- Overcomplicating your design: Sometimes less is more. Don't feel pressured to create an intricate design if you're not confident. Simple, heartfelt gifts often resonate more.
- Neglecting safety: If your project involves sharp tools or toxic materials, ensure you're taking the necessary safety precautions. Wear gloves when necessary and keep tools out of reach of children.
Examples of Personalized Gift Techniques
- Photo Transfer: Use transfer paper to apply a favorite photo onto a canvas or wooden block. This technique allows you to create a unique keepsake that captures a special moment.
- Hand-Painted Mugs: Customize a ceramic mug with paint designed for ceramics. After painting, bake the mug in the oven to set the design, ensuring it's dishwasher safe.
- Memory Quilt: Sew together fabric pieces that represent special memories, like T-shirts from events or trips. This can be a labor-intensive project but results in a heartfelt, cozy gift.
Step 5: Finishing Touches
After your gift has dried or set, it's time for the finishing touches:
- Inspect your work for any imperfections and make adjustments if necessary. Look closely for any uneven paint, smudges, or areas that might need a little extra love. If you're working with fabric, check for loose threads or any areas that may need a quick stitch-up.
- Apply a sealer if your project requires it, especially for items that will be used frequently, like a custom photo serving dish. Choose a food-safe sealer for kitchen items to ensure safety. For non-food items, a clear acrylic spray or brush-on sealer can help protect your design from wear and tear, giving it longevity.
- Consider adding a personal note or card to enhance the sentiment behind your gift. Handwritten notes add a heartfelt touch that can make all the difference. You might express why you chose this gift or share a cherished memory related to it. If you're feeling creative, design a custom card that matches the theme of your gift.
Additional Finishing Touches
Here are some more ideas to elevate your personalized Mother's Day gift:
- Gift Wrapping: Use creative wrapping techniques to make the presentation as special as the gift itself. Consider using fabric wraps, decorative boxes, or even a personalized gift bag. Add a ribbon or a small charm that relates to the gift for an extra flair.
- Include a Photo: If your gift allows it, include a small framed photo or a printed picture that holds significance. This could be a family photo, a snapshot of a memorable moment, or even a silly selfie that will bring a smile to her face.
- Custom Tags: Create custom tags that explain the significance of the gift or highlight the personalization. For example, if you made a custom mug, you could add a tag that says, "For your morning coffee, made with love!"
- Gift Basket: If you're feeling extra generous, consider assembling a gift basket that complements your main gift. Include items like her favorite snacks, a cozy blanket, or a scented candle. Make sure to arrange everything neatly and include a personal touch, like a handwritten list of the items inside.
Avoiding Common Mistakes
As you add those final touches, keep these common pitfalls in mind:
- Rushing the process: Take your time to ensure everything is perfect. Hasty work can lead to mistakes that detract from your thoughtful gesture.
- Neglecting to test a sealer: Always test your sealer on a small, hidden area first to ensure it doesn't alter the appearance of your design.
- Forgetting to include a personal note: Don't skip this step! A thoughtful message can make your gift truly unforgettable.
- Overcomplicating the wrapping: Sometimes, simple is better. A clean, elegant wrap can often speak louder than an overly complicated one.
By taking these finishing touches into account, you'll ensure that your personalized Mother's Day gift stands out and conveys the love and effort you put into creating it. Happy gifting!
Step 6: Presentation Matters
A well-presented gift can elevate the entire experience. Here are some ideas for wrapping and presenting your personalized Mother's Day gifts:
- Use beautiful wrapping paper or a gift bag that matches the theme of your gift. Consider colors and patterns that resonate with your mom's personality. For example, if she loves floral designs, opt for wrapping paper adorned with vibrant flowers.
- Add a ribbon or bow for that extra touch of charm. Experiment with different types of ribbons-satin for elegance, burlap for a rustic feel, or even twine for a more natural look. You can also layer ribbons for a more textured appearance.
- Include a heartfelt card that explains the significance of your gift. Personalize the message by recalling a cherished memory or expressing your gratitude. This adds an emotional layer to your gift that she'll appreciate.
To further enhance the presentation, consider the following tips:
Creative Wrapping Techniques
Think outside the box when it comes to wrapping. Here are some creative techniques:
- Fabric Wrap: Use a beautiful scarf or piece of fabric instead of traditional wrapping paper. This not only looks stunning but can also be a gift in itself!
- Gift Basket: Arrange smaller personalized items in a basket. Fill it with her favorite snacks, beauty products, or self-care items, and wrap it all in cellophane for a delightful surprise.
- Decorative Boxes: Use decorative boxes that can be reused. Choose boxes with designs that your mom will love, and you can skip the wrapping altogether!
Presentation Techniques
Beyond wrapping, how you present the gift can make a big difference:
- Gift Reveal: Think about how you'll reveal the gift. Consider hiding it in a special place or creating a scavenger hunt that leads her to the gift. This adds an element of fun and anticipation.
- Setting the Scene: Create a memorable moment when you present the gift. Light some candles, play her favorite music, or set up a cozy spot in the living room where you can share the moment together.
- Incorporate Personal Touches: Use items that have special meaning, like a photo of the two of you or a small trinket that represents a shared memory, to enhance the presentation.
Common Mistakes to Avoid
While presentation is key, there are some common pitfalls to watch out for:
- Overdoing It: While you want the gift to look fabulous, avoid going overboard with decorations. Sometimes, less is more, and a simple elegant presentation can be just as impactful.
- Ignoring the Gift's Size: Make sure your wrapping choice is appropriate for the size of the gift. A small gift in a huge box can look awkward, while a large gift in a tiny bag can be underwhelming.
- Neglecting Quality: Don't skimp on the quality of the wrapping materials. Cheap-looking paper or flimsy bags can detract from the perceived value of your thoughtful gift.
Remember, the presentation is just as important as the gift itself! A well-thought-out presentation not only enhances the excitement but also shows how much you care about the recipient. Take the time to make it special, and your mom will surely appreciate the effort.
Common Mistakes to Avoid
Even the best of us can make mistakes. Here's a list of common pitfalls to avoid while creating personalized Mother's Day gifts:
- Rushing the design process - take your time to ensure everything is just right. Planning ahead can help you avoid last-minute stress. Set a timeline for each step of the process, from brainstorming ideas to finalizing designs. For instance, if you're creating a custom photo book, allocate time for selecting photos, writing captions, and arranging the layout. A rushed job can lead to regrets later, so give yourself ample time.
- Not double-checking spelling or dates - these small details matter. Always proofread your work and consider having a friend or family member review it as well. Even a simple typo can change the meaning of a heartfelt message. If you're adding a significant date, like your mom's birthday or a special family event, make sure it's accurate. You could create a checklist to confirm that all text elements are correct before proceeding with the final product.
- Choosing low-quality materials - opt for the best to ensure longevity. The materials you choose can greatly affect the overall impression of your gift. For example, if you're designing a custom mug, ensure it's made from durable ceramic that can withstand everyday use. Look for reputable suppliers who offer high-quality options, and don't hesitate to invest a little more for a product that will last. You can create a comparison chart of different materials and their benefits to help you make informed choices.
Additional Common Mistakes
- Ignoring the recipient's preferences - always consider what your mom loves. Personalization is about her, not you. If she dislikes certain colors or styles, avoid them. Take notes on her favorite things throughout the year, and refer back to them when crafting your gift. A simple survey or casual conversation can provide insights into her preferences.
- Overcomplicating the design - sometimes, less is more. A cluttered design can detract from the message. Stick to a cohesive theme or color palette, and avoid adding too many elements that might confuse the viewer. Create a simple mock-up to visualize the layout before finalizing it. This will help you see if the design feels balanced or if it needs simplification.
- Not considering the occasion - while it's great to personalize, ensure that your gift aligns with the spirit of Mother's Day. A humorous gift might not resonate as well if your mom prefers sentimental gestures. Think about the tone you want to set and choose elements that reflect that. You can brainstorm themes that suit her personality and the occasion to guide your design choices.
- Forgetting about the presentation - the way you present your gift matters just as much as the gift itself. Invest time in wrapping it beautifully or consider a unique presentation method, like a custom gift box. A well-presented gift can elevate the entire experience. Create a checklist for presentation materials, such as wrapping paper, ribbons, and cards, to ensure you have everything ready.
- Neglecting to test before gifting - always do a test run of your personalized item if possible. Whether it's a printed product or a digital gift, ensure that everything works as intended. For instance, if you're creating a custom playlist, listen through it to ensure it flows well. Testing helps you catch any issues before it reaches your mom, ensuring she has the best experience possible.
Tools to Consider
If you're feeling overwhelmed by the creative process, there are various tools and resources available to help you along the way:
- Online design tools for creating custom prints and graphics.
- Craft supply stores that offer workshops for hands-on guidance.
- Inspirational websites and blogs that provide gift inspiration for Mother's Day.
Online Design Tools
When it comes to creating personalized gifts, online design tools can be a game-changer. They allow you to unleash your creativity without needing to be a professional designer. Here's a breakdown of some popular tools:
- Canva: This user-friendly platform offers templates for everything from cards to photo books. You can easily drag and drop elements, add text, and customize colors to match your mom's style.
- Adobe Spark: Perfect for creating stunning graphics and videos. You can start from scratch or use one of their templates, and it even has a mobile app for designing on the go.
- Visme: A great tool for creating infographics and presentations, which can be used to tell a story about your gift or your relationship with your mom.
Tip: Most of these platforms offer free versions, so you can experiment without spending a dime. Just be sure to check the licensing agreement if you plan to sell your creations!
Craft Supply Stores
Sometimes, the best way to get inspired is to dive into a hands-on experience. Local craft supply stores often host workshops that can guide you through the process of creating personalized gifts. Here's how to make the most of these opportunities:
- Research Local Stores: Look for craft stores in your area that offer classes or workshops. Stores like Michaels or Joann often have a calendar of events on their websites.
- Sign Up for Workshops: Choose a workshop that aligns with your gift idea, whether it's pottery, painting, or scrapbooking. These sessions often provide materials and expert guidance.
- Network with Other Crafters: Engaging with fellow participants can spark new ideas. Don't hesitate to ask for tips or share your own!
Common Mistake: Don't wait until the last minute to sign up for workshops. They can fill up quickly, especially around holidays like Mother's Day!
Inspirational Websites and Blogs
Sometimes, all you need is a little inspiration to get your creative juices flowing. There are countless websites and blogs dedicated to DIY gifts and personalized items. Here are a few to check out:
- Pinterest: A treasure trove of ideas! Search for "Mother's Day gifts" and you'll find everything from simple crafts to elaborate gift ideas. Create a board to save your favorites.
- Gift Ideas Blogs: Sites like GiftGuide.com or even specific sections of lifestyle blogs often feature unique gift ideas tailored for Mother's Day.
- YouTube: Video tutorials can be incredibly helpful. Search for DIY gift-making videos that show step-by-step processes, making it easier to follow along.
Checklist: Before diving into your project, create a list of ideas you want to explore. This will help keep you focused and organized.
Final Thought: While tools and resources are great, remember that the most important ingredient in any personalized gift is the thought and love you put into it. Happy crafting!
Conclusion
Creating personalized Mother's Day gifts is a rewarding experience that shows your thoughtfulness and appreciation. With these steps, you can craft a memorable gift she'll cherish for years to come. So, grab your materials and start creating something special today!
Before you dive in, let's recap the essential steps and add a few more tips to ensure your gift is a hit. Remember, personalization is all about making it unique to your mom's tastes and preferences.
Key Steps Recap
- Choose the Right Base: Select an item that can be personalized, such as a mug, photo frame, or a piece of jewelry.
- Personalize Thoughtfully: Think about what makes your mom smile. This could be her favorite quote, a cherished memory, or a special date.
- Use Quality Materials: Whether it's a sturdy mug or high-quality paper for a scrapbook, using good materials makes a big difference.
- Pay Attention to Details: Small touches like wrapping or adding a heartfelt note can elevate your gift.
Checklist for Success
- Brainstorm ideas based on your mom's interests.
- Gather all necessary materials before starting.
- Set aside enough time to create without rushing.
- Double-check spelling and dates for accuracy.
- Plan for the presentation-how will you wrap or present your gift?
Common Mistakes to Avoid
- Being Generic: Avoid using clichés unless they resonate with your mom. Personalization is key, so steer clear of one-size-fits-all ideas.
- Ignoring Her Style: Make sure the design and colors reflect her personality. If she loves pastels, don't go for bold, dark colors.
- Forgetting About Timing: Start early to avoid last-minute stress. Personalized gifts often take longer to create than you anticipate.
- Neglecting the Presentation: A beautiful gift deserves beautiful wrapping. Don't skimp on how you present your creation.
Ultimately, the best gift is one that comes from the heart. Whether it's a simple card with a handwritten note or a complex DIY project, your effort will shine through. So, channel your inner artist, and let your creativity flow. Happy crafting!